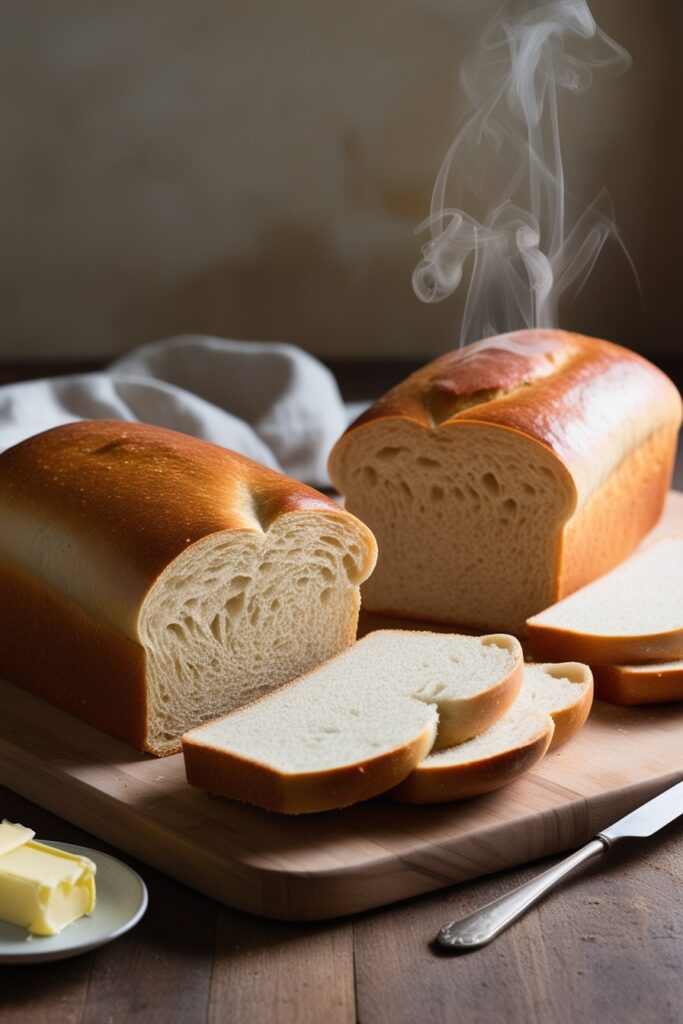
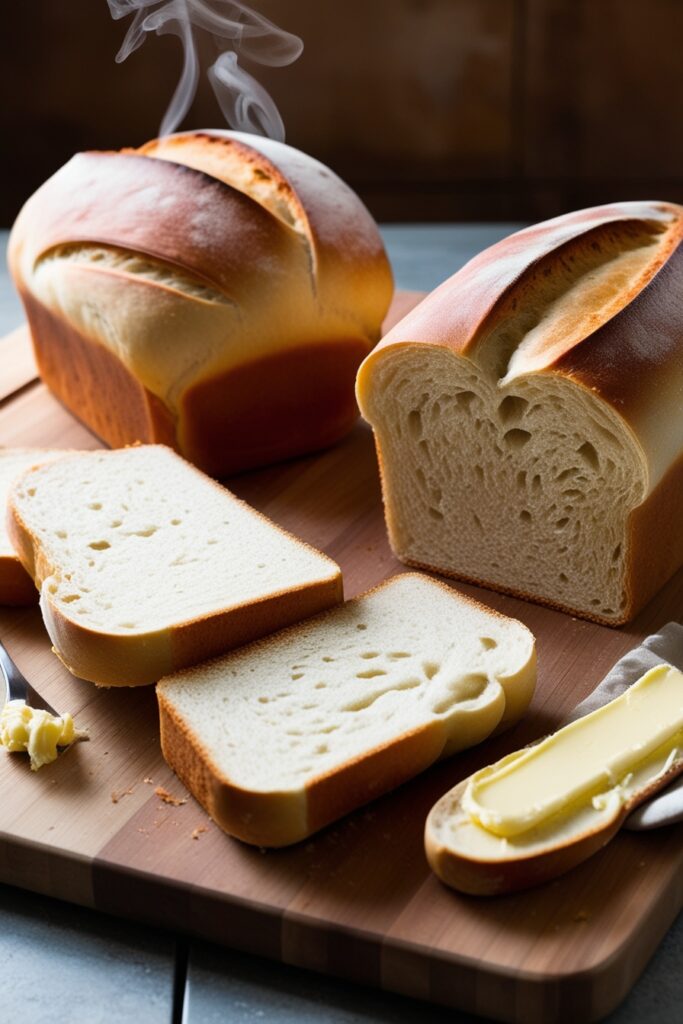
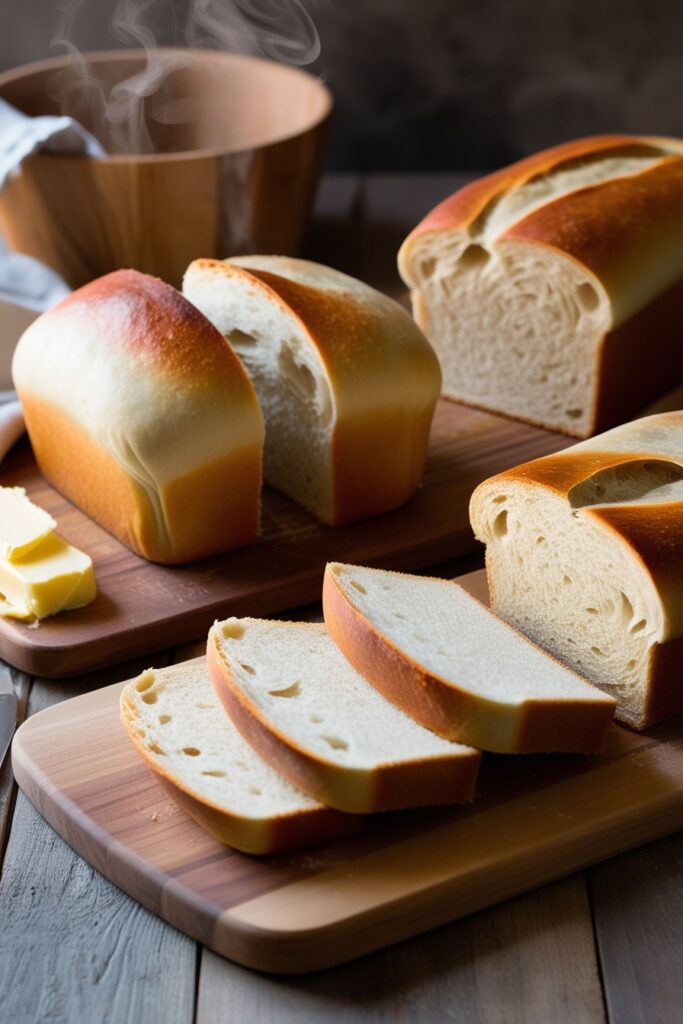
Homemade Sandwich Bread Recipe is a simple pleasure, yet often overlooked in favor of store-bought alternatives. However, the process of making your bread is not only deeply satisfying but offers numerous benefits. When you bake at home, you control what goes into your loaf—ensuring it’s free from preservatives, artificial ingredients, or excess sugar. Beyond that, the warm, rich scent of bread baking in your kitchen is an experience that no pre-packaged loaf can replicate. The result? Soft, fluffy sandwich bread that feels as comforting as it tastes.

Table of Contents
Why Choose Homemade Sandwich Bread?
While convenient, store-bought bread often pales in comparison to homemade varieties. A loaf fresh out of the oven is incomparable in flavor and texture. On the other hand, store-bought options can be loaded with preservatives, stabilizers, and fillers designed to extend shelf life rather than enhance flavor. The customization available with homemade bread is endless—whether ydding a touch of whole wheat for extra fiber or a sprinkle of oats for texture.
Another key advantage is the nutritional quality. Making your bread you’re in control of what goes into it—no mysterious additives. For those with dietary preferences or restrictions, this is a game changer. Gluten-free? Organic ingredients only? The power is in your hands to create a loaf tailored to your exact needs.

Key Ingredients for Soft and Fluffy Sandwich Bread
Flour
Flour forms the backbone of any bread recipe. All-purpose flour is the go-to choice for a soft and fluffy texture because it strikes the perfect balance between structure and lightness. Its moderate protein content gives the bread enough strength to hold its shape without making it too dense.
Yeast
Yeast is the driving force behind the bread’s rise. Instant dry yeast is more convenient as it doesn’t require proofing and can be mixed directly with the dry ingredients, while active dry yeast needs to be dissolved in water first. Both will give you a lovely rise, but choosing the right yeast for your needs can simplify the process.
Liquid
The choice between milk and water can drastically alter the bread’s texture. Milk tends to create a richer, softer crumb, while water yields a slightly chewier and more rustic loaf. For ultimate fluffiness, many bakers prefer milk as it adds fat and protein to the dough.
Fat
Fat plays a dual role in sandwich bread, enhancing both flavor and texture. Butter is a classic choice, adding a slight sweetness and richness, while oil creates a tender crumb. Whichever fat you choose, it’s essential for producing bread that’s soft enough to fold yet firm enough to hold up under layers of sandwich fillings.
Sweetener
A touch of honey or sugar is critical for more than just flavor. Sweeteners feed the yeast, helping to activate it faster and giving your bread a nice lift. Honey also lends a subtle depth of flavor that pairs well with the mild richness of butter.
Eggs
Though optional, eggs provide extra structure and richness to the dough, resulting in a slightly sturdier and more flavorful loaf. They also help with browning, creating that beautiful golden crust you see on bakery bread.

Step-by-Step Instructions
- Preparing the Yeast Mixture
Begin by combining warm water (around 110°F), yeast, and sugar in a small bowl. Let it sit for 5-10 minutes until it becomes foamy. This step is essential for ensuring the yeast is activated and ready to make your bread rise. - Mixing the Dough
In a large bowl, whisk together the flour and salt. Slowly add the yeast mixture along with any additional liquid (such as milk), and mix until the dough starts to come together. If using a stand mixer, switch to the dough hook attachment and let it mix until the dough forms a ball. - Kneading the Dough
Kneading is crucial for developing gluten, the protein that gives bread its structure. Knead by hand on a floured surface or let your stand mixer do the work. The dough should become smooth, elastic, and slightly tacky to the touch. This process usually takes 7-10 minutes. - First Rise
Place the dough in a greased bowl, cover it with a damp cloth or plastic wrap, and let it rise in a warm spot. After about an hour, the dough should have doubled in size, which is a sign that the yeast is doing its job. - Shaping the Loaves
Once risen, punch down the dough to release any air bubbles. Divide the dough in half and shape each portion into a loaf. Place the loaves into greased loaf pans, making sure the dough is evenly distributed. - Second Rise
Cover the pans and allow the dough to rise again, this time until the loaves crest above the rims of the pans. This second rise takes about an hour but ensures a light, airy texture in the final product. - Baking
Preheat your oven to 350°F (175°C). Bake the loaves for 35-40 minutes or until the tops are golden brown and the bread sounds hollow when tapped. The smell of fresh bread will fill your kitchen—irresistible! - Cooling
Remove the loaves from the pans immediately and let them cool on a wire rack. This helps to prevent the bread from becoming soggy. Wait until the bread is fully cooled before slicing for the best texture.

Tips for Perfect Sandwich Bread Recipe
Accuracy matters when it comes to bread baking. Using a kitchen scale ensures you’re working with precise measurements, especially for the flour. Water temperature is equally crucial for activating yeast—too hot, and you’ll kill it; too cold, and it won’t activate properly. Always aim for around 110°F.
Avoid over-kneading, which can make the bread tough and chewy rather than soft and airy. And don’t be afraid to experiment—adding oats, seeds, or whole grain flours can introduce new flavors and textures to your classic loaf.
Storage Tips
Homemade bread has a shorter shelf life than its store-bought counterparts due to the lack of preservatives. To keep it fresh for a few days, store it in a bread box or wrap it tightly in plastic wrap. For longer storage, freeze it. Slice the loaf beforehand, so you can easily pull out just what you need, and it will last for months in the freezer.
There’s a certain joy in crafting something with your own hands, and homemade sandwich bread is no exception. The soft, fluffy crumb and the golden crust are rewards in themselves. Beyond the pleasure of eating it, making your bread offers health benefits, taste customization, and a chance to reclaim a bit of old-world charm in your modern kitchen.
We’d love to hear how your homemade bread turned out! Share your tips, tweaks, or secret ingredients in the comments below. Don’t forget to post pictures of your creations on social media with #HomemadeBreadMagic for a chance to be featured!


